Within any enterprise, IT operations teams use a variety of solutions to monitor their technology ecosystem. These products are often business critical and cannot easily be replaced or migrated. Ultimately, it’s important that teams can analyze and correlate data from these different tools so they can produce the insights they need to improve decision making. To help address these requirements, Broadcom offers RESTMon.
What is RESTMon?
RESTMon is a lightweight, open, and extensible connector that uses REST APIs to integrate with third-party products and services and pull data into DX Operational Intelligence. You can find more information about RESTMon in this post.
How to Deploy RESTMon in an OpenShift Cluster
In this practitioner post, we will cover how to stand-up a RESTMon instance in minutes using Helm charts in an OpenShift or Kubernetes cluster. Keep in mind that RESTMon can also be deployed as a standalone Docker container.
In a matter of minutes, you should be able to leverage your existing investments, produce insights, and reduce time to value. Follow these three steps:
- Start by downloading the RESTMon package from https://support.broadcom.com/enterprise-software and check the prerequisites. (Basically, Docker and Helm must be installed).
- Then make the RESTMon image available to the target cluster. You can achieve this by loading the Docker image in all worker nodes of the cluster:
docker load < dx-restmon-2.1.tar.gz
Or simply pushing the image to the registry of your cluster:
docker tag <restmon_image_id> <your_registry>:<port>/dx-restmon
docker push <your_registry>:<port>/dx-restmon
In both cases, the image will be ready and available to be deployed. - The final step is to launch the Helm command to deploy RESTMon. This command can take multiple parameters to configure the connector, such as port, persistent storage file system, tenant associated with the connector, and tokens for authentication.
The full list of variables is described in RESTMon docs.
All fields in bold are variables that you should adapt to your environment:
helm install restmonapp restmon-2.1.tgz \
--set restmon.settings.service_port=8787 \
--set restmon.storage.nfs_path=/nfs/ca/dxi/restmon \
--set restmon.storage.nfs_server=<nfs_server> \
--set restmon.id=restmon \
--set restmon.settings.tenant_id=<tenantId> \
--set restmon.settings.oi_ingestion_tenant_token=<tenant_token> \
--namespace restmon \
--set restmon.settings.supportability_agentToken=<agent_token> \
--set restmon.settings.supportability_instanceName=myrestmoninstance \
--set restmon.settings.supportability_apiEndpont=https://axa.dxi-na1.saas.broadcom.com:443
(Note the supportability metrics variables: They are important to report RESTMon status and performance)
The result of this command is the deployment of several objects in your OpenShift project, such as a pod, a service, a deployment, and a replica set.
After a couple of minutes, your RESTMon instance should be up and running. You can verify this by running the following command in your namespace:
oc get pod
And verify that the RESTMon pod is running. You can also check the logs using:
oc logs <restmon_pod_name>
To access the RESTMon UI, note the port assigned to your RESTMon service. For instance:
oc get svc
NAME TYPE ... PORT(S) AGE
dx-restmon-restmon LoadBalancer ... 8787:20123/TCP 16m
Then connect from a browser using the NodePort, as shown below:
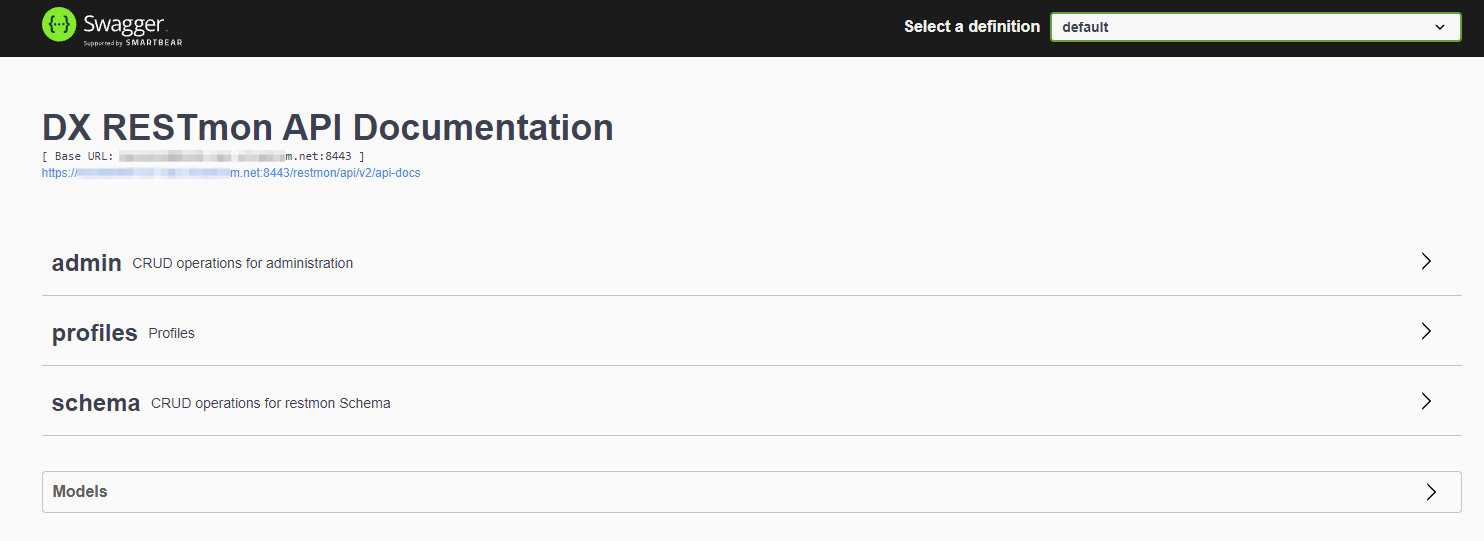
Voilà. You are now ready to connect to different sources via REST APIs. At the time of writing this post, we have 17 integrations available.
You can also follow the video tutorial here.
Benefits of Running RESTMon as a Microservice
By running RESTMon as a microservice, you can realize a number of benefits:
- You can roll out and manage several deployments of RESTMon in the same cluster.
- You can now monitor RESTMon performance and health via DX dashboards.
- You can realize improved availability of RESTMon microservices using Liveness and Readiness probes.
- You can centrally monitor all RESTMon instances from a single DX Operational Intelligence tenant.
To learn more about RESTMon, visit Broadcom Enterprise Software Academy.
Tag(s):
AIOps